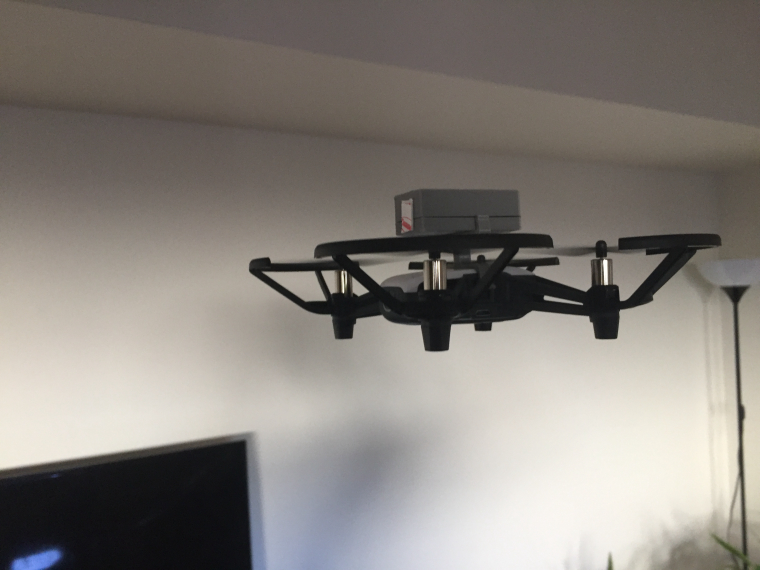
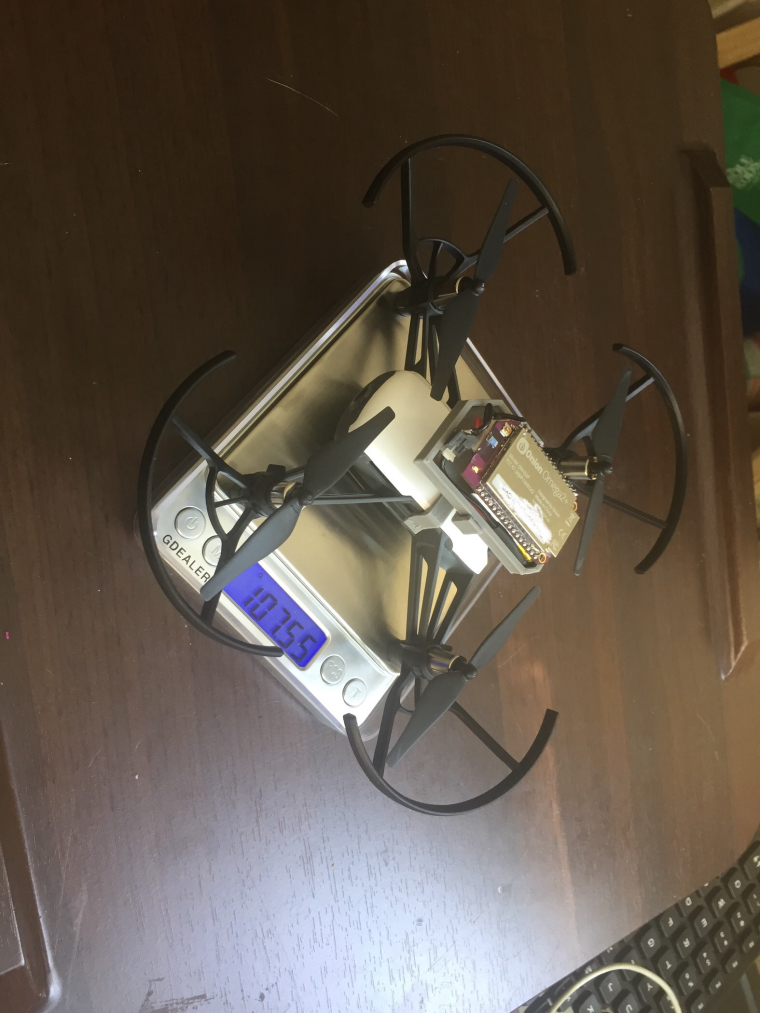
New test of setup with micro drone


@György-Farkas it was about 2h 30min, most of time it was idle. I consider to put there QI receiver coil for wireless charge. Actually the lack of hibernation or sleep mode could be potential problem in future.
New test of setup with micro drone


@György-Farkas it was about 2h 30min, most of time it was idle. I consider to put there QI receiver coil for wireless charge. Actually the lack of hibernation or sleep mode could be potential problem in future.
@György-Farkas Any compact project. Also any project where you don't want to have huge box on the shelf.
@ccs-hello I saw your setup, it is great! I like that you are assembling book PCB yourself, but components that you are using are too big compare to Omega size. I ordered PCB from Adafruit and it is couple of grams, seriously.
For some reason Omega2+ was adversaised as small IoT computer, but in real life most of users are using big shields and expansion. Even smallest of them are too big because of pins.
I need really compact and lightweight device, so I decided to try to make setup with size as small as possible.
For first, I cut all pins.
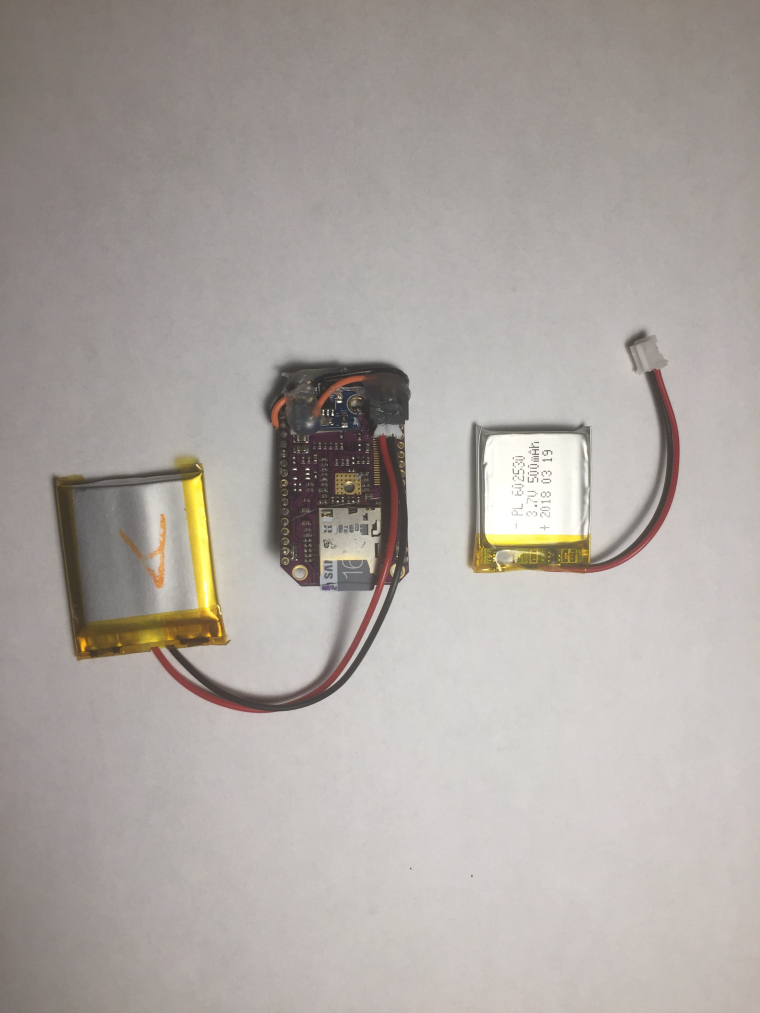
Next I glued to double-sided scotch Buck Converter Breakout LM3671 3.7V to 3.3V. It is really small and fits empty spot on back side of Omega right by Vin and Ground.
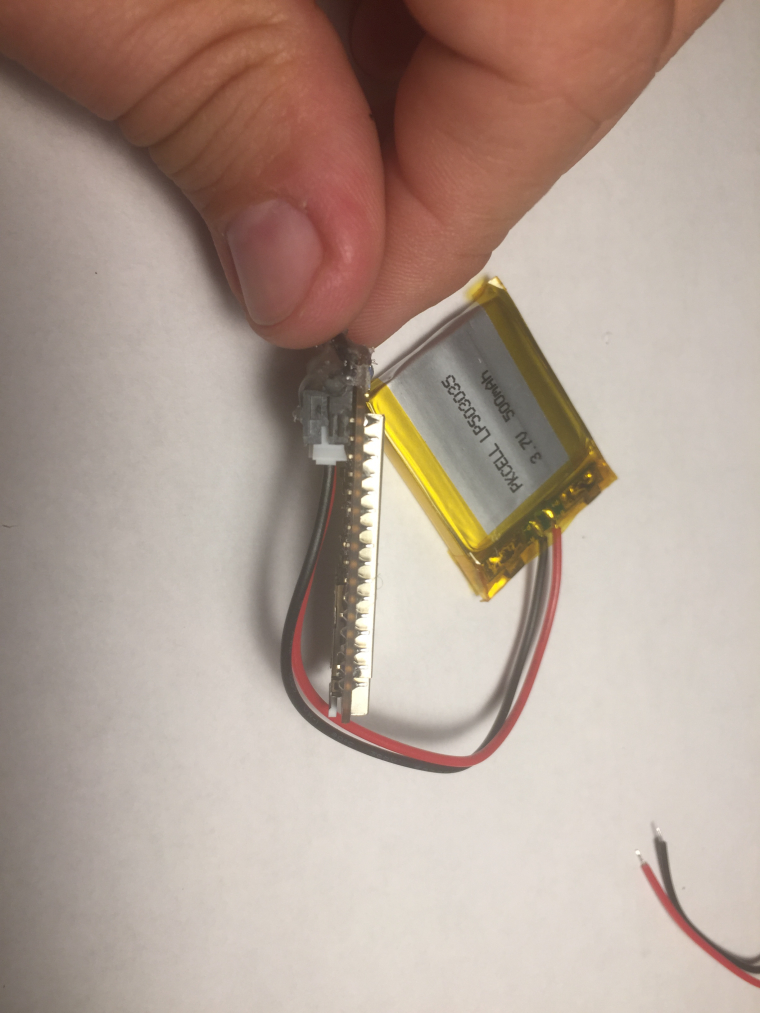
I also glued JST 2-pin jack for battery.
That's it, now I have mobile and compact Omega2+.

