The IoTA Badge
A Totally Fictitious Take on the Convention Badge of the Future
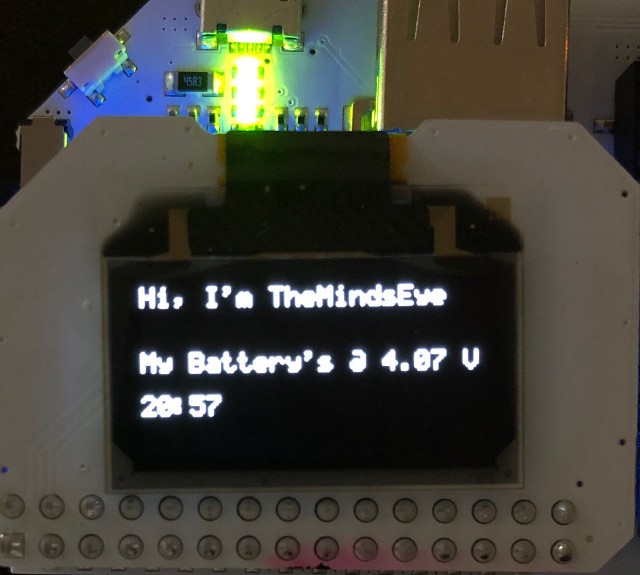
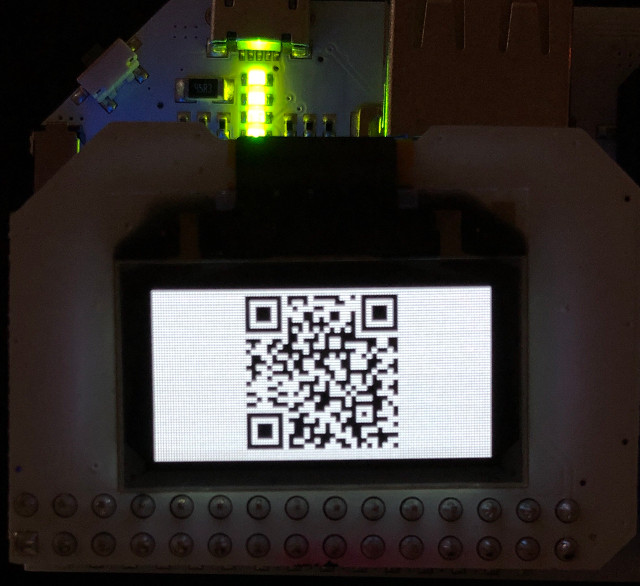
Recent attendees at the Internet of Things Achievements (IoTA) convention were given a bag of parts that were to be assembled into a functional digital attendee identification (ID) badge. If properly assembled, this badge could be used for displaying a simple greeting along with an alternating display of a QR code. This code contained the “Web” address link for accessing the badge wearers’ unique Web access point that was hidden inside the badge.
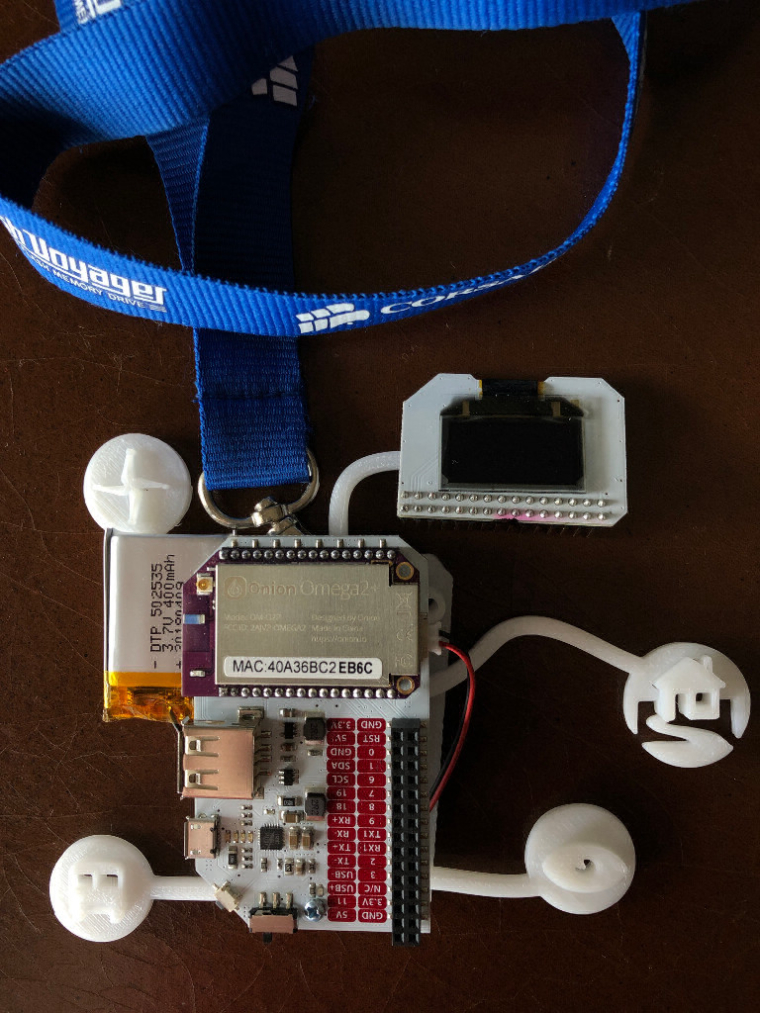
Imagine this; every attendee was walking around IoTA sponsoring their own unique Web site that could deliver special information targeted towards other convention goers. Forget the old school “Hello, My Name is...” badge, welcome to the future where every attendee is a walking Web site. Yes, there has been a recent rash of do-it-yourself (DIY) construction/hack badges (https://www.parallax.com/downloads/hackable-electronic-badge) at various conferences, conventions, and events around the world, but the IoTA badge marks the first time that no soldering, PCBs, or code was required for the fabrication of a fully functional convention badge.
Just plug-n-stroll through the aisles, booths, and displays of IoTA.
OK, full disclosure here: the IoTA event is totally bogus and the badge presented in this project is completely fictitious. Nonetheless, the Onion Omega ecosystem of plug-n-design components makes it a trivial exercise to build a lavish “badge” in just a matter of minutes. Furthermore, this badge can house an astonishing array of interactive elements that would stress the soldering skills of any conference attendee for building an equivalent DIY badge. And an incredible fringe benefit: adding an operating system, Web site, and/or sensor suite are all feasible with an Omega2 badge.
If you’d like to try your hand at designing a state-of-the-art convention badge, here’s a quick list of the steps I used for making this fake IoTA badge:
-
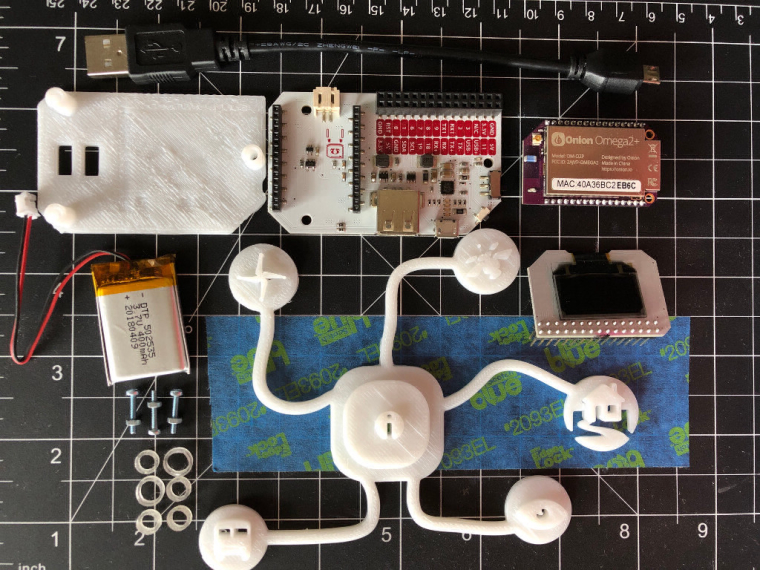
Pick your fave Onion Omega2 components: I used the Power Dock 2, Omega2+, OLED Expansion, and 400mAh Lithium Polymer (LiPo) battery.
-
Design and print a 3D frame for holding the components.
-
Setup, update, and configure the Omega2+ with the Onion firmware, OnionOS, and specific Omega2+ OLED repositories (https://github.com/OnionIoT/oledQrCodeGenerator).
-
Using guidance from the code in the Onion repositories, write your own Python program for presenting information on the OLED. Don’t forget to install Python and it’s dependencies on your Omega2+.
-
Create a Web site on the Omega2+ and insert the link to this site inside the QR code.
-
Now strut your stuff knowing full well that no eco-unfriendly soldering techniques were used and no PCBs were harmed in your project.
Enjoy the future.
