My first real-world onion project...
-

Showing off the beginnings of my first real-world onion based project. It's a monitor for a mobile sheet metal cutting machine which logs GPS location, vibration/shock, weight of steel, run time, and lengths cut. It also takes a photo of the machine operators via webcam which is sent along with all the sensor data to my webserver for the client to access real time from his head office. Interesting challenge and a steep learning curve!

-
That is cool as hell. And the only thing I did was create a "Magic 8-Ball" with mine...
-
you get extra points for shaping the proto boards in the shape of an omega2. thats a good bit of data to be sending from the field. you using some type of cellular ?
-
@Douglas-Kryder : LTE 4G mobile with a 2 GB data package. The photo's are 60kb each and the text data from sensors is around 100kb per hour - hardly a stretch!

-
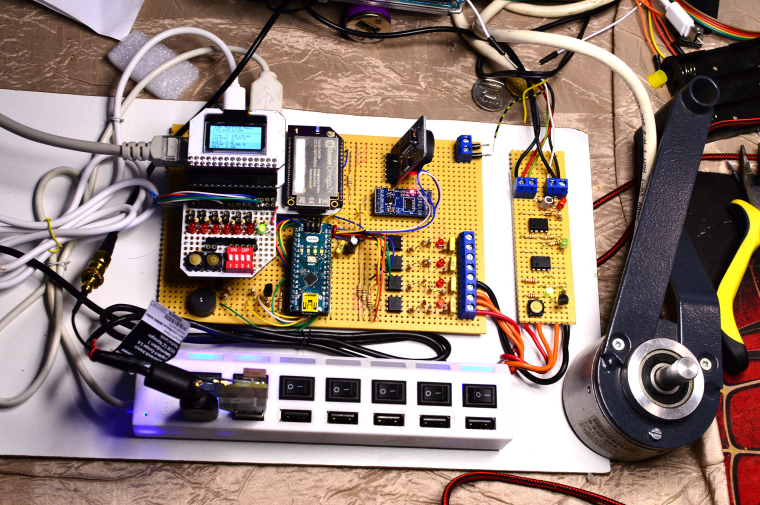
The prototype that survived it's live test run inside the belly of the machine...Next step - PCB layout...
-
@Paul-Cousins Awesome! Glad to see you're using the Proto Expansion, have to admit that we didn't think of plugging it in rotated by 180˚!
-
Hey,
Thanks for sharing, can you give us some details on the GPS module (and other one for curiosity) ?
Thanks by advance,
Nicolas,
-
This is awesome, I work in the control engineering world.
How did you manage to mount the Omega 2 on the breadboard/protoboard? I know the omega has 2mm pin spacing while most mounting platforms have 2.54 mm.
-
@Nicolas-Bernard the GPS module is the onion USB version - the others modules are arduino nano (to count encoder pulses from start up as omega takes too long to boot), accelerometer and real time clock
@Anurup-Kankanhalli thank you!
 the omega is on the expansion board and wired to veroboard from the onion proto board
-
After 7 months of R & D it's time to put the project into production. Boards arrived today and i am happier than a pig in...
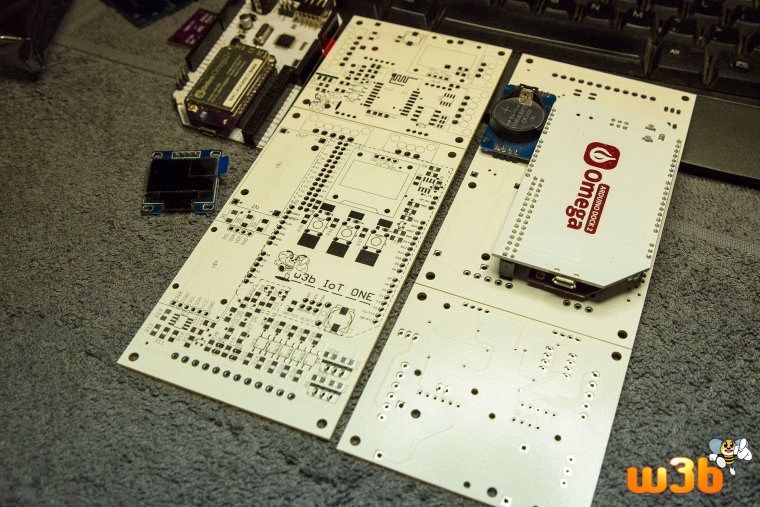
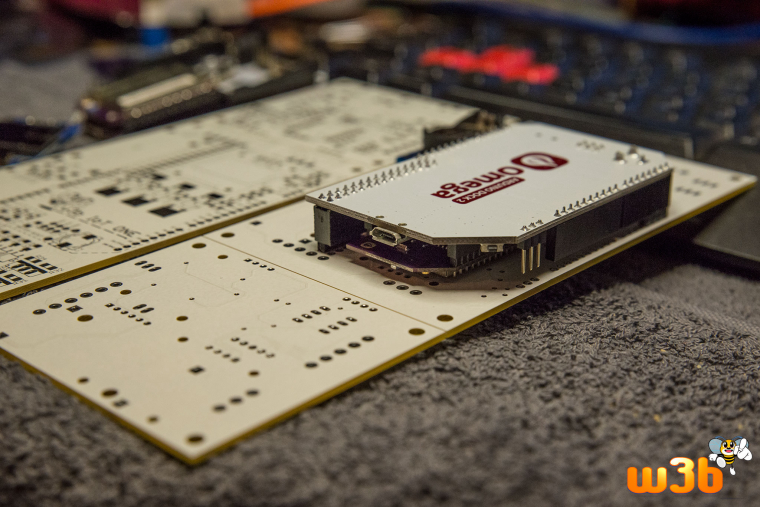
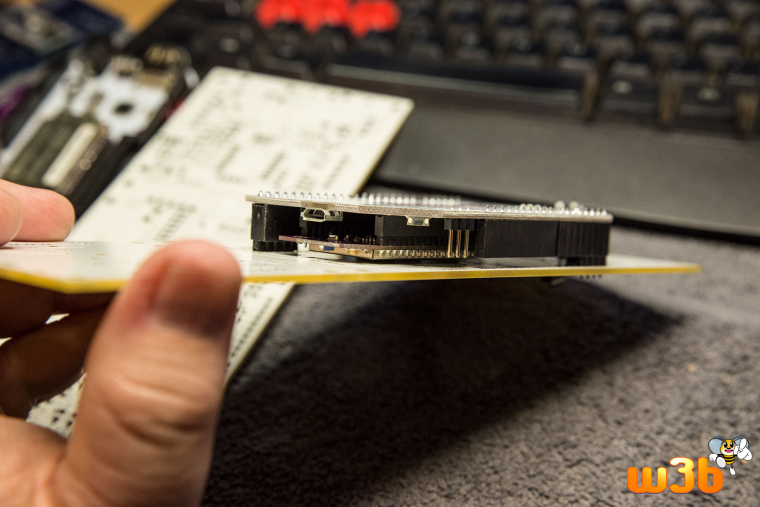
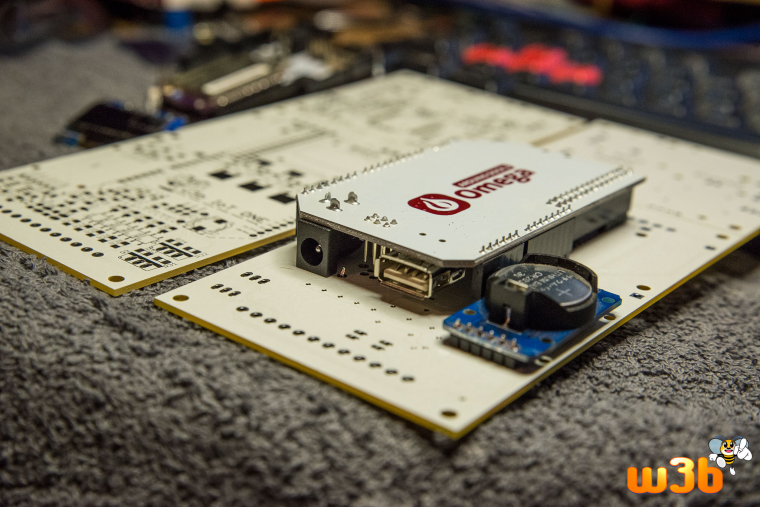
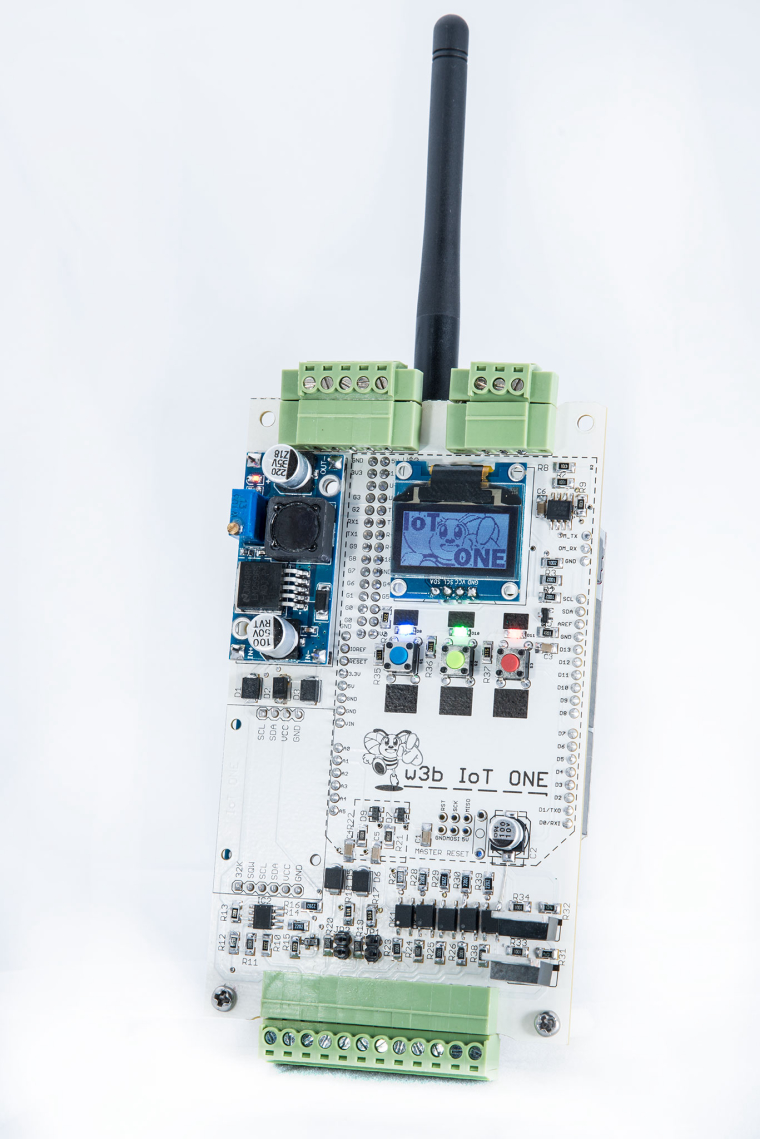
The arduino dock really simplified the design for me and I now have a really awesome little programmable unit with a counter input, 2 analog/4-20ma inputs, 4 digital inputs, 2 fet outputs, RTC, RS485 port and an OLED for good measure.
The smaller piggyback board is ESP12 powered and has 4-20ma input, 2 digital inputs, one output, load cell amplifier, RTC and OLED
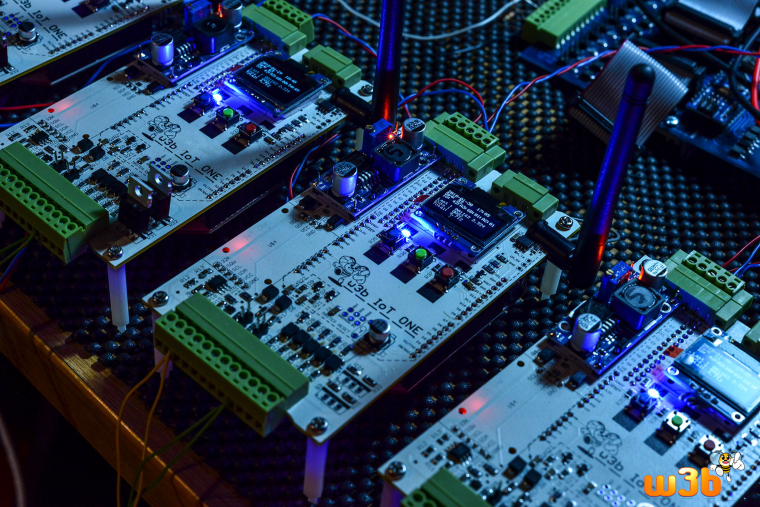
I have christened the board "IoT ONE" - hope you onioneers approve!

-
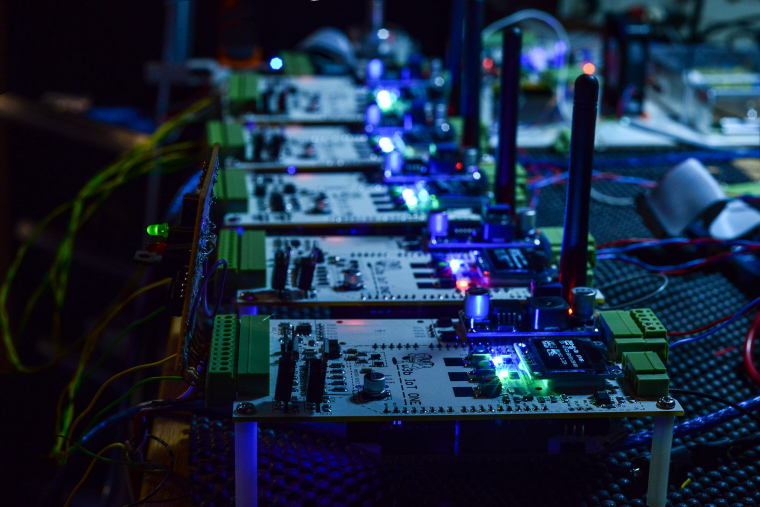
6 Complete boards ready for installation in their new homes... thank you Onion for plenty grey hair and much more pride!

-
Just curious - where did you get your boards made? They look great!
-
@Malcolm-White Thank you!
 They are made by a company in Cape Town, South Africa - Trax Interconnect.
-
@Paul-Cousins hi, great project. i'm always interested in how projects go together and it appears to me that the what looks like a buck converter/dc to dc converter was a plugin pre-existing board and i wanted to know if you could mention which board it is?
-
@Douglas-Kryder It's an adjustable LM2596 power supply module DC/DC BUCK 3A which I purchase from a local supplier for a lot cheaper than the raw LM2596 chip would cost on it's own.
Here's a clearer photo...
-
Some general questions as I am building some of my own hardware. In high volume you want to limit the amount of through-hole components as pick and place machines are cheaper. Why didn't you use the Omega SMT version ?
-
@brolly759 The SMD version was released about 2 weeks after I had designed my boards! :))
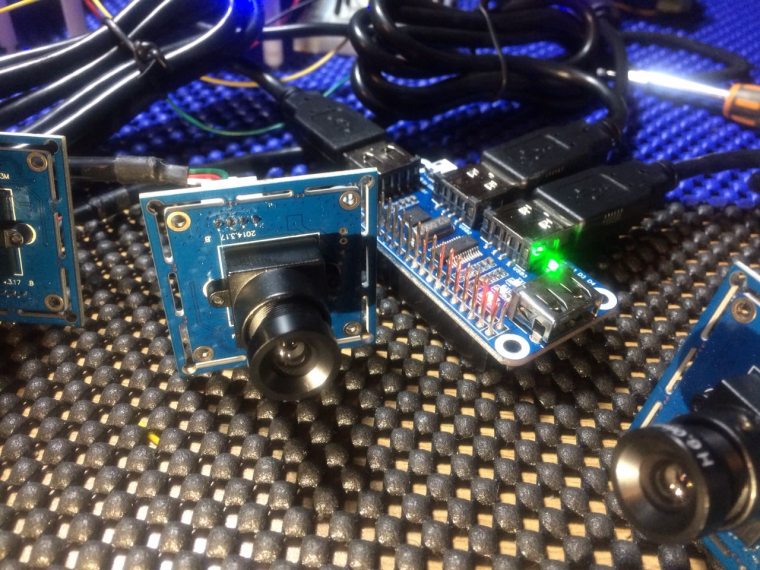
Heres the last part of the system I haven't documented: 4 port Pi Zero hub & bareboard 720p cameras. The arduino dock powers all 3 cameras without issue
-
@Paul-Cousins thanks for that info. and you are correct about the pricing. amazon has very similar board from eboot in 6 pack 11.00US. and they work great for using 24v10A power supply to 3.3v/5v projects. at first i thought the omega was under the lcd but now i realize you have an additional piggy-backed board under this top board. that is a very clever methodology for design . do you still use the onion expansion board underneath? and finally, for this post anyway, did the pi zero camera setup make it into this board? thanks.
edit: i now see it did.
-
It's been a while since the last update but I wanted to show off the cute 3D printed case I designed for my device...
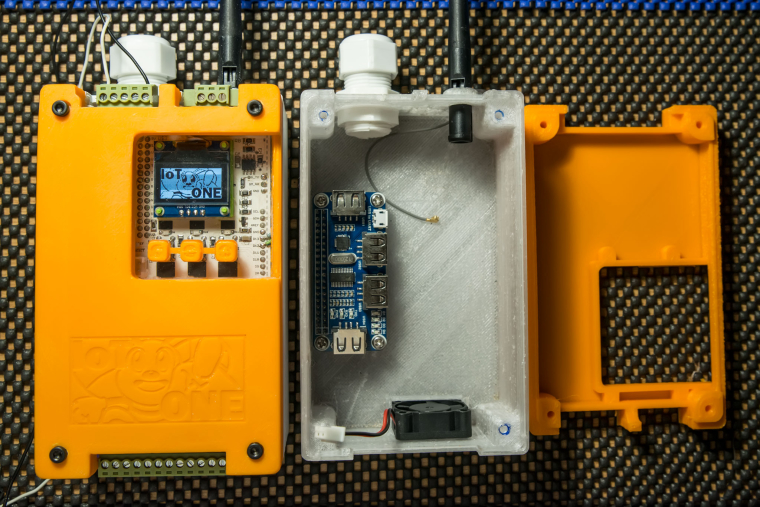
And here's a sneaky cell phone image of one out in the wild looking after monster of a machine...
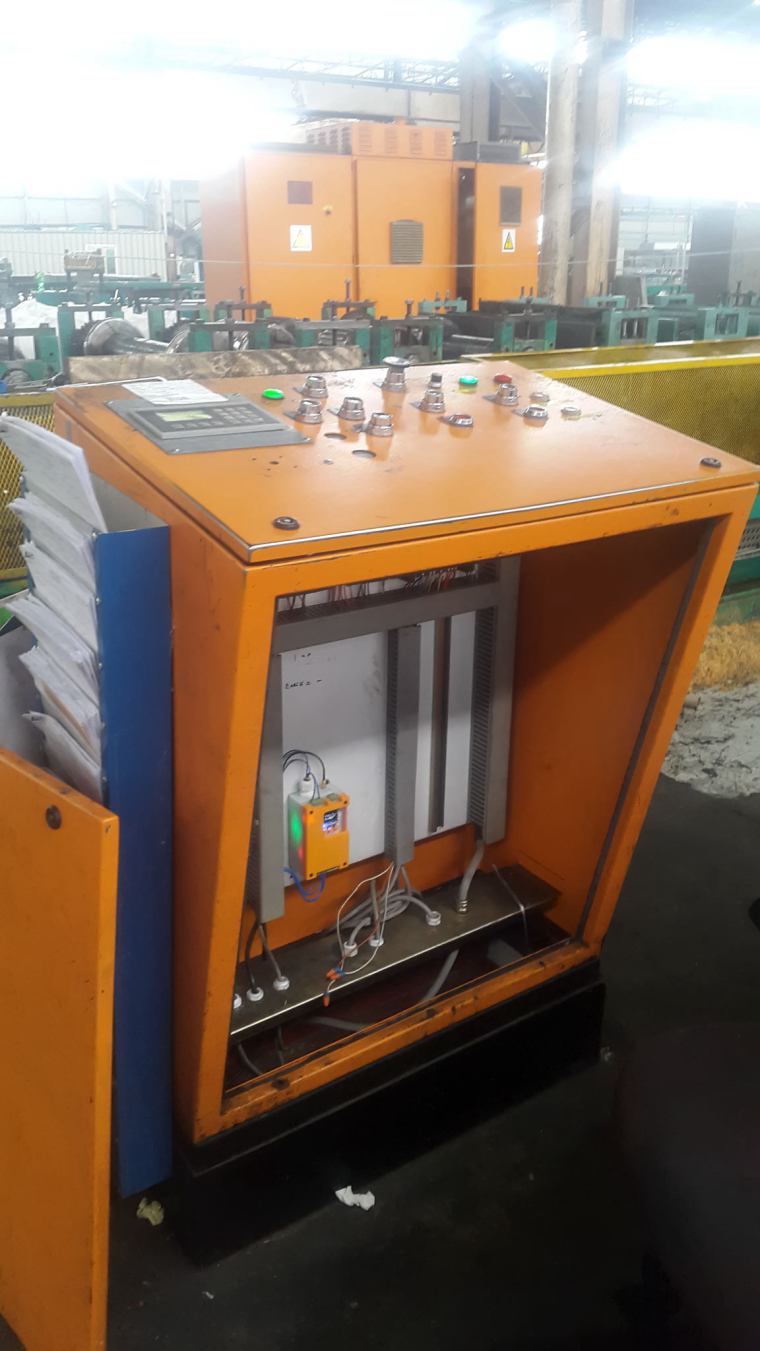
I've managed to sell the entire first batch of boards - quite happy about that! I'm now busy working on a second generation that adds a few more nifty features as well as correcting a few quirks in the original design. Despite initial concerns and a lot of grey hair, the omega is turning out to be a reliable little device. Thanks again to the community for all the tips and assistance given! Onioneers rock!

-
Awesome!